
Google’s Gmail system is part of the Google Workspace group of cloud-based business tools that really help small businesses. However, using a free Gmail address isn’t very professional. Improve your business’s image by imposing your own domain name on a Gmail account.
Any business that starts up a website needs to buy a domain and that domain can also be used for business email addresses. The domain registration service is often tied into a web hosting account and those systems usually include an email account management service, where the domain name owner can send mail as the bona fide business operator rather than a hacker who just created a Gmail account with the business’s name in it.
It is possible to set up Gmail so that it will receive emails to the company’s domain name and all emails sent out from the Gmail account will have the business domain name on it instead of the gmail.com domain. Many people know that this is possible with a paid Google Workspace account. However, it is also very easy to put your own domain on your emails through Gmail for free.
Set up Google Workspace with a custom domain
Working out how to get Gmail to use the business’s own custom domain name transforms the use of the entire Google Workspace group of Google apps — which are all available in a free version.
Custom domain email addresses can then be used for the collaboration features, such as commenting and document sharing. The business will be able to communicate with suppliers and customers through Google Workspace without the need to use gmail.com business addresses. That will stamp the corporate brand on every communication through the use of custom email addresses.
The Gmail system can easily be set up to use a custom email address when it is accessed as part of a paid Google Workspace account.
However, most small business owners don’t like to pay for a service if they can get it for free. That is particularly the case for startup businesses that need to save money whenever possible.
Here are the prices for the paid Google Workspace accounts.
However, Gmail is also a free email service and can be adapted to use a professional email account without having to pay any extra fees.
Check out our roundups of the Best Domain Name Providers and the Best Free Domain Name Registrars
How to use a custom domain address for a Gmail account
You might have heard of an SMTP server, IMAP, and POP3 in relation to setting up an email account. You don’t need to know how to deal with those email protocols in order to use this workaround to get a Gmail account to use your own custom domain on the email address.
Just follow this step-by-step guide.
1. Create a Gmail account
If you already have a Gmail account for yourself, leave that alone, and create a new free email address for your business.
1. Go to www.gmail.com
2. Click on Create account. If you already have an account you will be taken to that. Click on the icon for your account in the top-right of the screen and click on Add another account in the drop-down menu. The add account procedure is the same for creating a new Gmail account.
3. Enter a name, email address, and password for your new Gmail address.
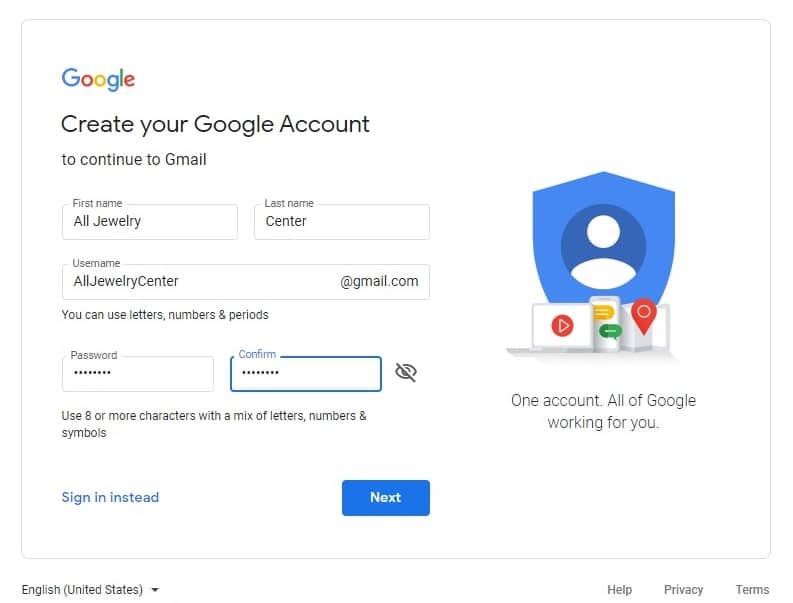
Don’t worry if your email address has to have numbers on it to make it unique – no one will see this address.
Press the blue Next button to move on.
4. Enter account recovery and identification information on the next screen.
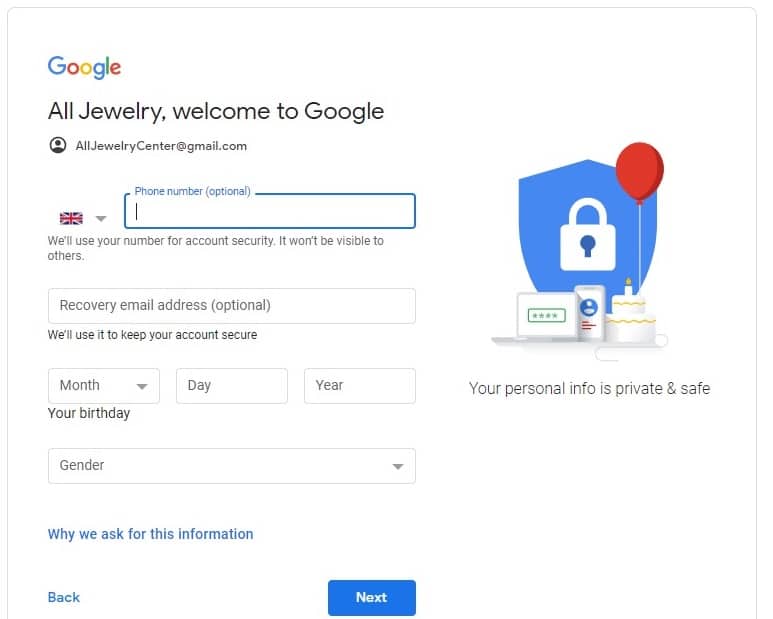
Press the blue Next button.
5. Google will send a verification code to the phone number you gave.
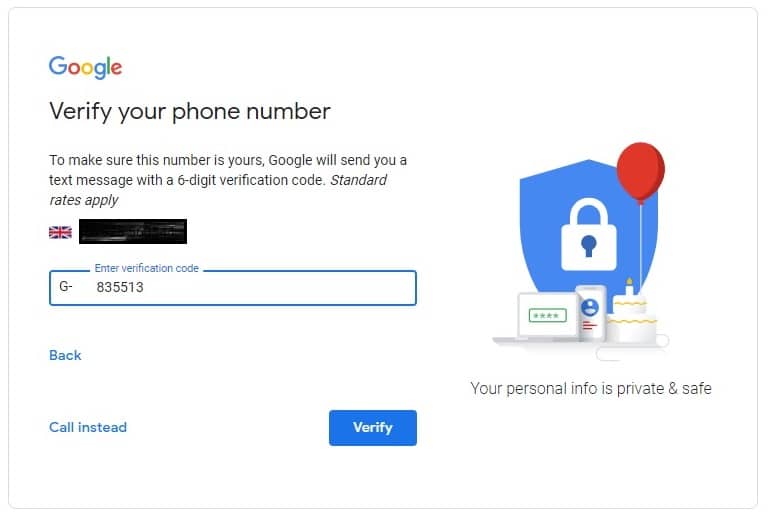
Fill in the verification code and then press the blue Verify button.
6. Press Skip on the next screen, which is about extra services.
7. Check the two boxes at the bottom of the Privacy and Terms screen and press the Create Account button.
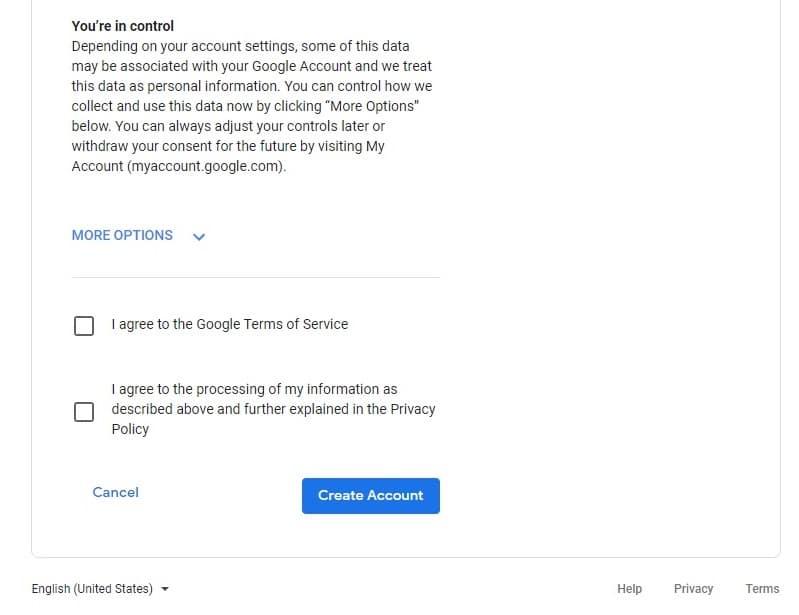
A popup window will ask you to go back to the extra services screen. Ignore this and press the Confirm button.
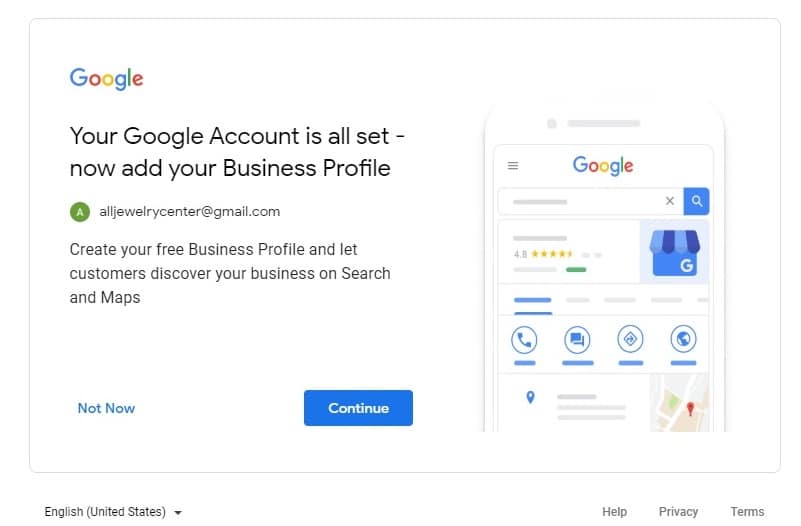
8. In the account creation confirmation screen, press Continue to get to your new account’s Inbox.
2. Set up a new email address in Bluehost
These instructions will work for any web hosting service that uses the cPanel control panel.
1. Log into your Bluehost web hosting account. If you have a WordPress account, don’t go into the WordPress administration.
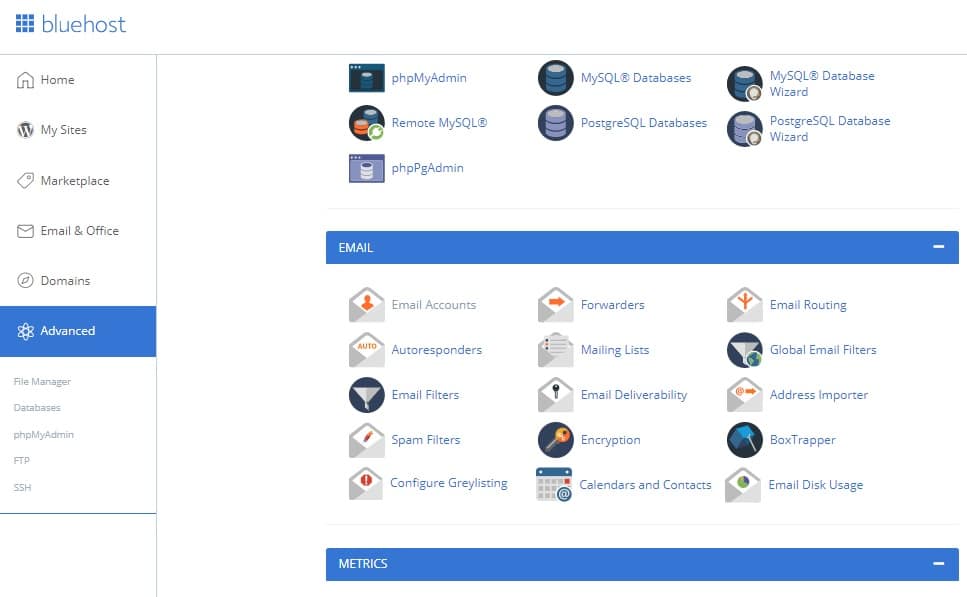
2. Select Advanced in the left-hand menu to get to the cPanel control panel and scroll down to the Email section.
3. Click on Email Accounts. This will open the Email Account Management screen.
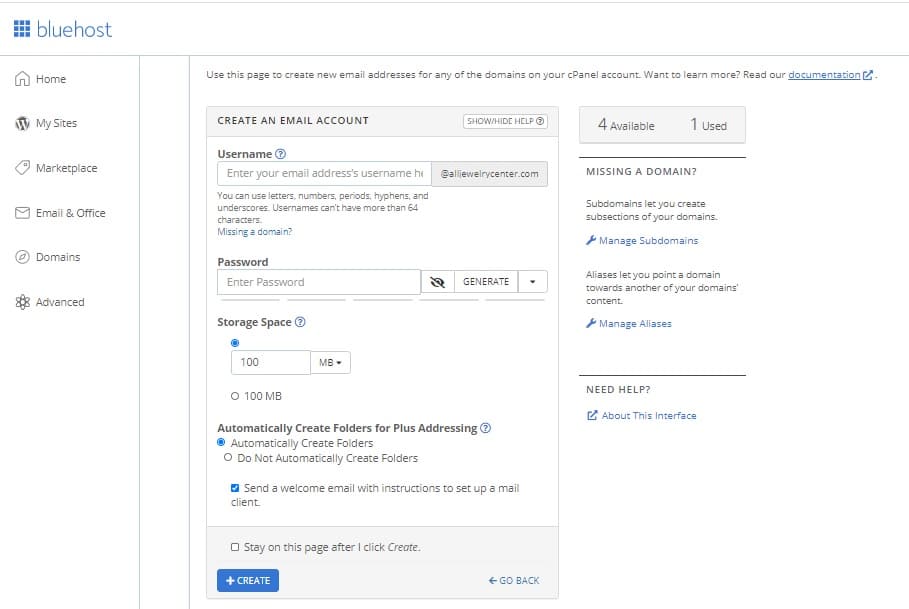
4. Click on the blue Create button. This will open the email setup screen. Give the account a name, create a password, and then press the Create button.
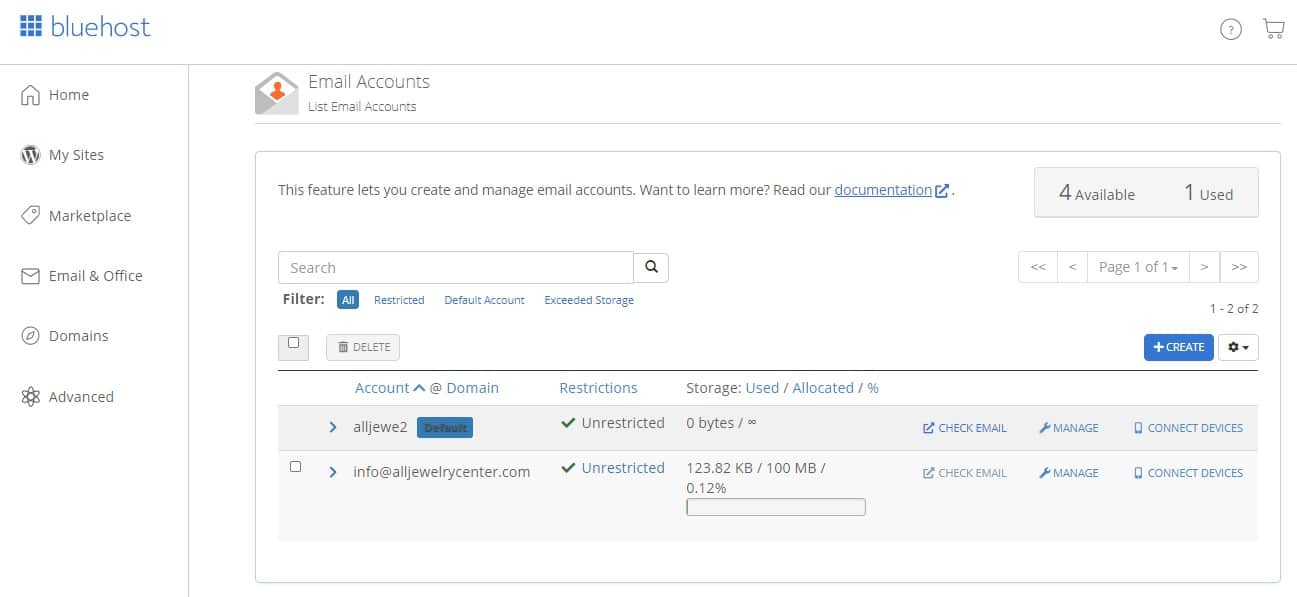
5. Back in the Email Account Manager screen, you will see your new email account listed. Click on Connect Devices on that line.
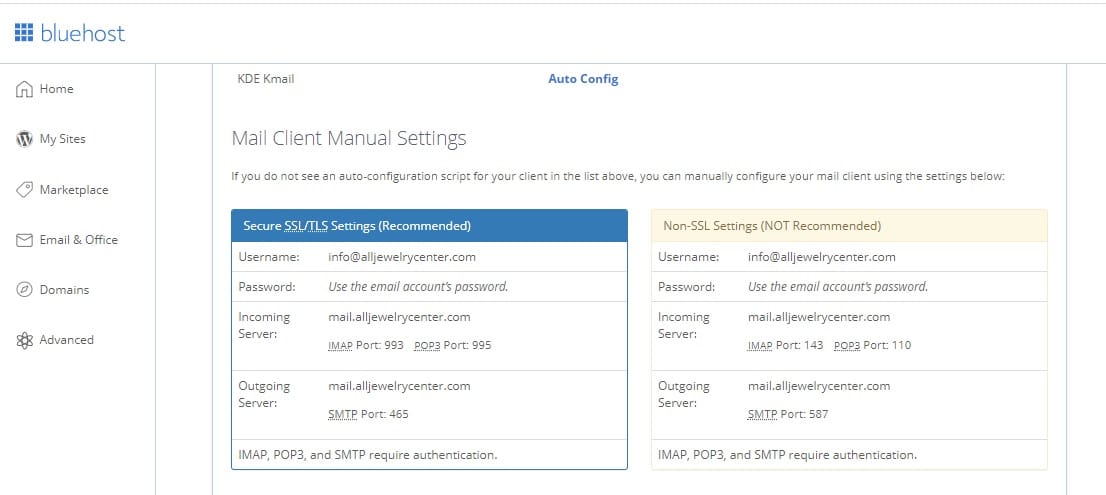
6. In the Set Up Mail Client screen, scroll down to the Mail Client Manual Settings. Record the information is the SSL/TLS box for use in Gmail.
3. Set up a new email address in Hostinger
1. Sign in to your Hostinger hosting account and select Emails from the top menu.
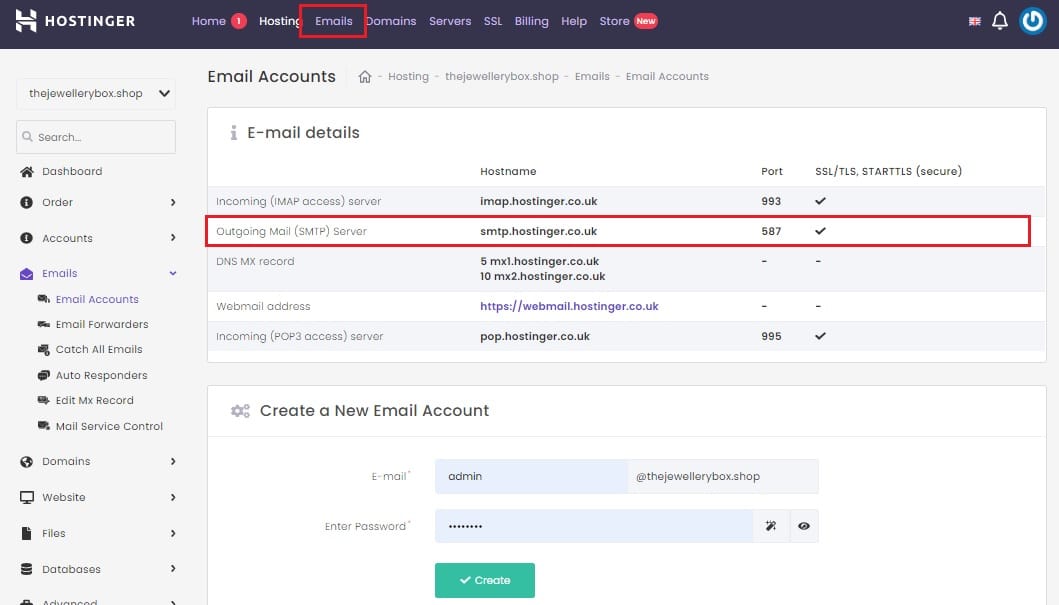
2. Note down the details for the Outgoing Mail (SMTP) shown in the top panel
3. Enter an email address name – the domain name will already be filled in.
4. Nominate a password.
5. Press the Create button. When the email address has been created, you will see it in the Manage E-mail Account section lower down in the Email screen.
4. Set up a new email address in GoDaddy
- Sign in to your GoDaddy account to get to your Workspace Control Center.
- Click on the Create button at the top of the user account list.
- Under Include the following, check the Email box.
- Enter the first part of the new email address up to and including the “@.”
- Click on the domain name that this account will be created on.
- Enter and confirm a password.
- Click on the Create button.
5. Set up mail forwarding
These instructions are the same for any web hosting system that uses the cPanel. That includes HostGator and Bluehost.
- In the cPanel Email section, click on Forwarders. This will take you into the email forwarding service of your web host.
- Select your new domain from all options in the Managing drop-down list.
- Click on Add Forwarder. This will open the forwarder setup screen.
- Enter the email address you just created on your new domain name, give the business Gmail account as the destination, and click on the Add Forwarder button.
6. Set up mail forwarding in Hostinger
- Sign in to your Hostinger hosting account and select Emails from the top menu.
- Click on the Email Forward in the left-hand menu.
- Click on Use Existing Mailbox and select an email address from the drop-down list of existing accounts.
- Enter Your Gmail address in the Forward to the email field.
- Click on the Create button.
7. Set up mail forwarding in GoDaddy
- Sign in to your GoDaddy account to get to your Workspace Control Center.
- Click on the Create Forward button at the top of the user account list.
- In the forwarding screen, enter your own domain email address in the Forward this email address field. Include the following, check the Email box.
- Enter Your Gmail address in the To these email addresses field.
- Click on the Create button.
8. Set up mail forwarding in Namecheap
- Log into your Namecheap account and click on Domain List in the left-hand menu.
- Click on the Manage button on the line of the domain you want to forward emails for.
- Click on the Advanced DNS tab at the top of the Domain Management screen.
- Mind the Mail Settings section and select Email Forwarding from the drop-down list. This will generate a mail forwarding action for the account.
- Click on Save All Changes.
- Click on the Domain tab
- Scroll down to the Redirect Email section and click on Add Forwarder.
- In the Alias field, enter the part of the email address before the @, so for [email protected], you would just enter info.
- Enter the Gmail email account name in the Forward to field.
- Click on the checkmark to save the setting.
9. Alter the Gmail settings
Your Gmail account is now available, but it will use the gmail.com domain on all of your emails. Change the settings to use your own domain name instead.
1. Click on the gear icon at the top-right of the Inbox to open the Settings panel.
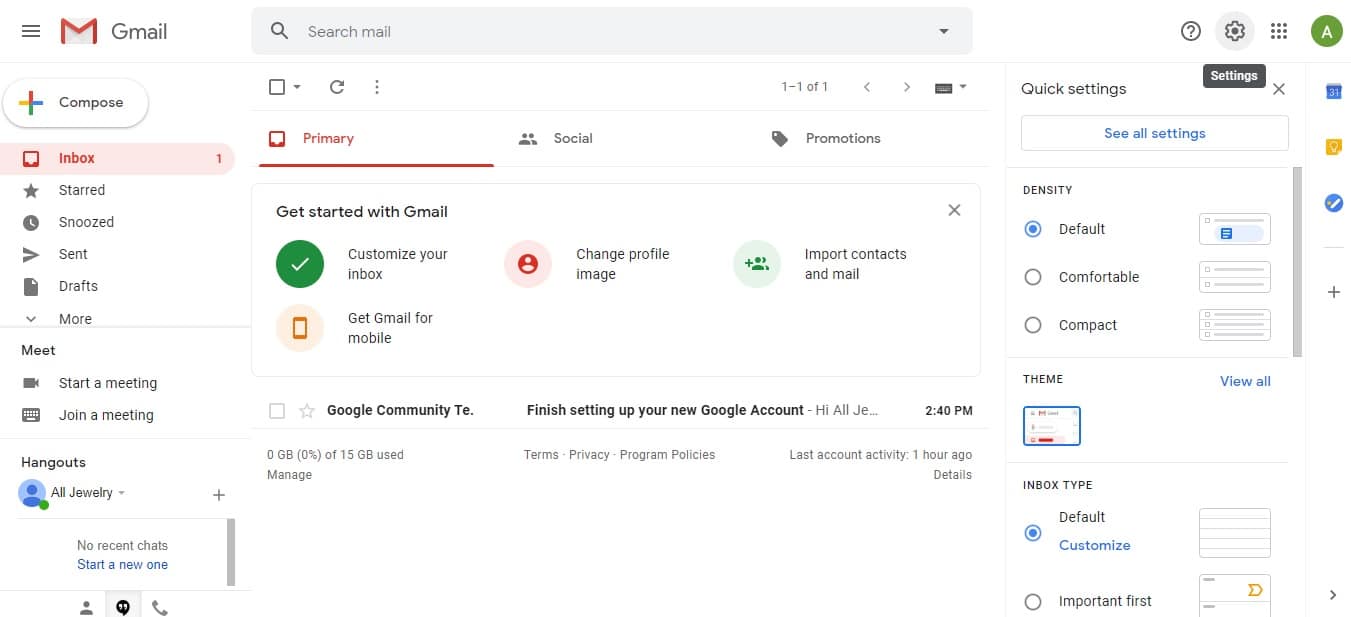
2. Click on See all settings.
3. Click on the Accounts and Import tab in the Settings screen.
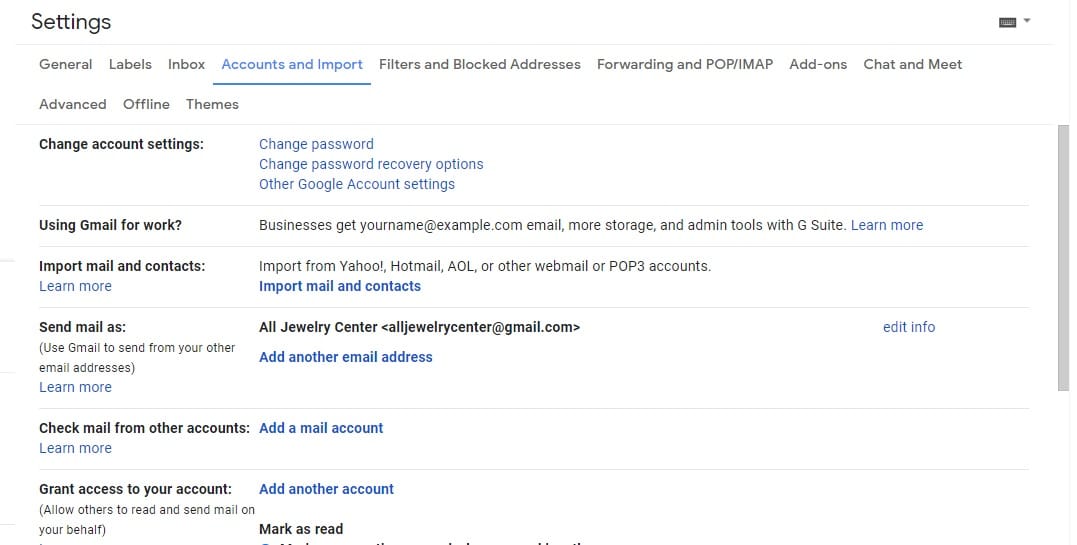
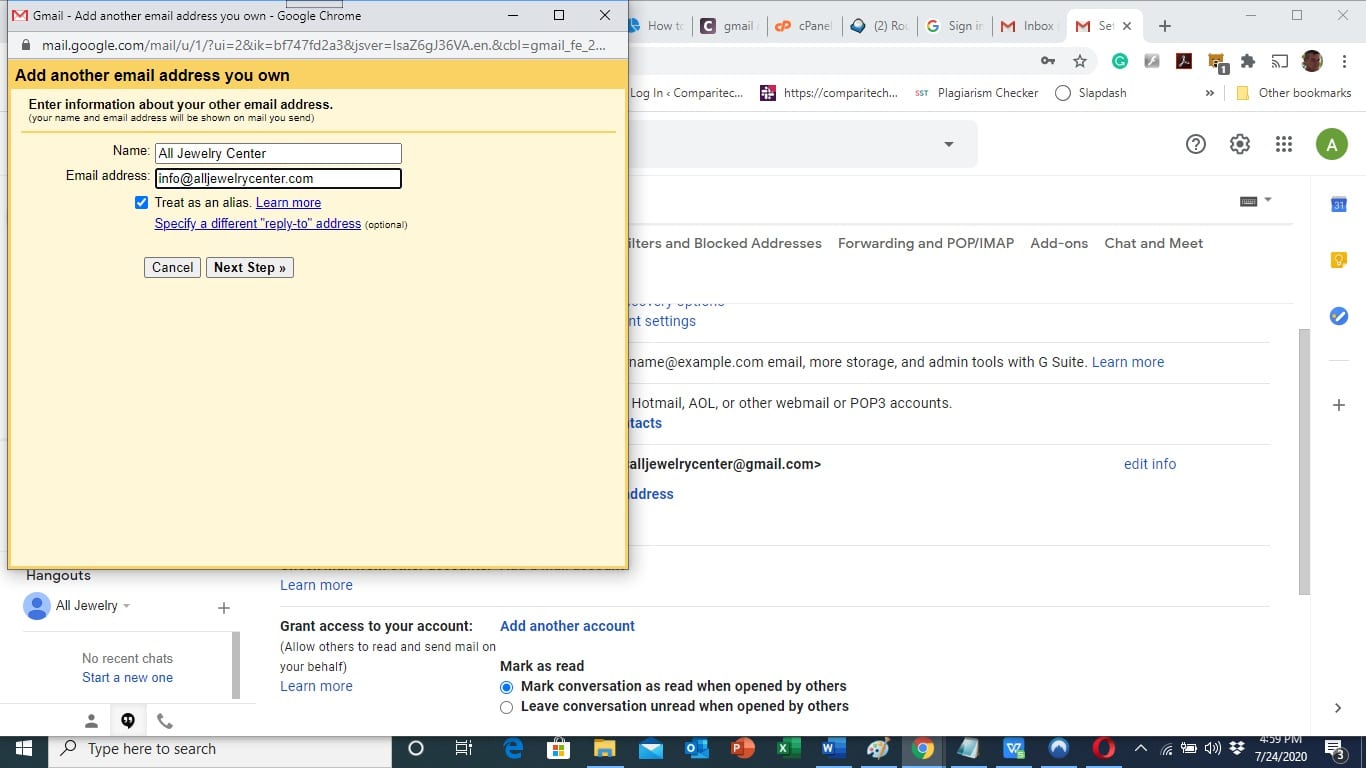
4. Look for the Send mail as section and click on Add another email address. A popup will appear.
5. Enter an email address that you created your domain and press Next Step.
6. Enter the mail client settings that you noted down from your email hosting system in your web hosting account.
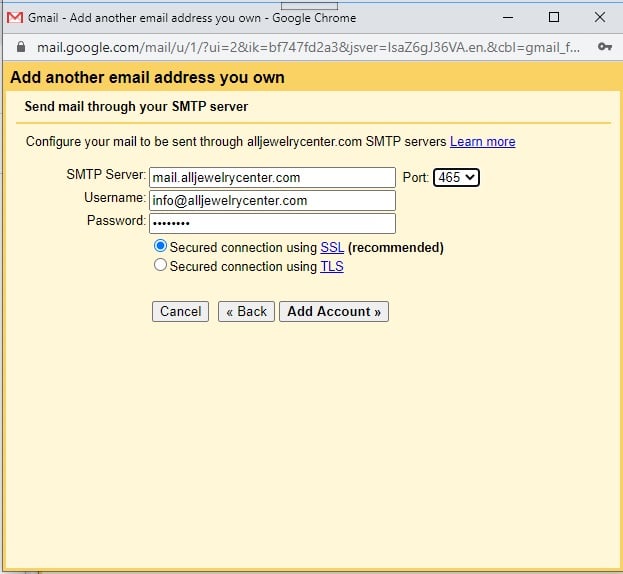
7. Click on Add Account. Gmail will send a verification email to the email address that you are trying to add. Click on the link in the email, or copy the verification code shown into the field in the confirmation popup in Gmail.

8. Click on the Verify button. The popup window will close. The Accounts and Import settings tab now shows your added email address.
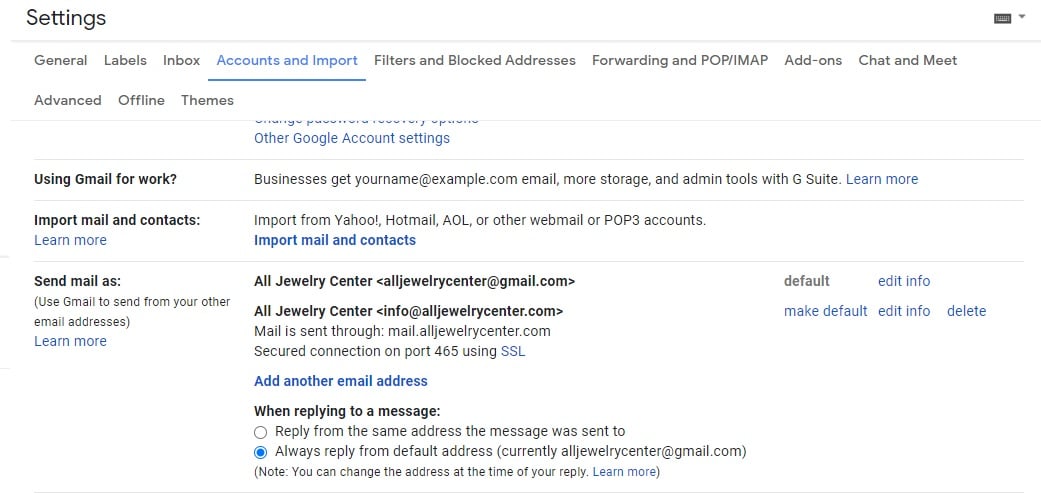
9. Click on make default next to your business email address.
10. Click on Inbox in the left-hand panel of the Gmail screen to get out of the Settings section.
11. Confirm that the email system in Gmail has been properly configured by sending an email to your own personal account from your new Gmail account.
12. Check that the name of the sender shows your business name and the email address is that of your own domain name and not gmail.com.
13. Reply to the test email to see whether it arrives in the Inbox for your new Gmail account. The forwarding through your web host email system will not show up in the earlier email conversation.
FAQs
How do I alter the MX records in order to forward them to a Gmail account?
You don’t need to make any manual MX record changes to forward emails to a Gmail account from your web hosting account or from a parked domain held by a domain registering service.
What DNS settings do I need to create in order to forward emails to a Gmail account?
You don’t need to make any manual changes to DNS records in order to forward your email from a web hosting account to a Gmail account.
DKIM stands for DomainKeys Identified Mail. This is an email authentication method. The part of the Gmail account setup where the mail client sends a verification code to your own domain’s email account takes care of ownership authentication.
Does setting up a Gmail account create a Google account?
No, but you can use your Gmail account to set up a Google account.
How do I ensure that emails are forwarded to Gmail over a secure connection?
Opting to use a TLS port when you set up the source of emails in Gmail makes sure that emails are sent in an encrypted state.
Can I forward emails from my domain name to Mailgun instead of Gmail?
Yes, there are a number of email clients that you can forward your domain emails to, including Thunderbird, Outlook, Mailchimp, and Mailgun.